If you are reading this, you are probably feeling a little overwhelmed. You may be a parent who has just been told that your child might need extra support. Maybe you are an adult living with a disability and wondering if there is help out there to make daily life a little easier.
You might have heard the term “NDIS” thrown around, but the process of actually applying feels like a maze.
Take a deep breath. You are in the right place.
The National Disability Insurance Scheme (NDIS) is designed to help Australians with disabilities get the support they need. But like anything official, the application process has steps you need to follow.
In this guide, we will walk you through how to apply for NDIS step by step. We will use simple English, avoid confusing jargon, and give you realistic examples of what to expect. By the end, you will know exactly where to start.
Contents
- 1 What is the NDIS? (A Simple Explanation)
- 2 Step 1: Check Your NDIS Eligibility
- 3 Step 2: Gather Your Evidence (The “Proof” Part)
- 4 Step 3: Make an Access Request
- 5 Step 4: Wait for the Decision
- 6 Step 5: Plan Your Supports (The Planning Meeting)
- 7 Step 6: Receive Your Plan and Start Using It
- 8 Common Questions Beginners Ask
- 9 Tips for a Smooth Application
- 10 Conclusion: Your Next Steps
What is the NDIS? (A Simple Explanation)
Before we dive into the application, let’s make sure we are on the same page about what the NDIS actually is.
The NDIS is a government programme in Australia that provides funding to people with permanent and significant disabilities. Think of it as a budget. Instead of the government deciding exactly what services you get, the NDIS gives you (the participant) choice and control over your supports.
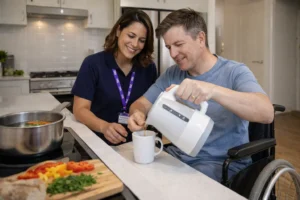
For example, if you need help getting out of bed in the morning or need a support worker to take you to the shops, the NDIS can fund that. It is not a welfare payment; it is a scheme to help you live an ordinary life.
What is NDIS in Australia? A Simple Beginner’s Guide 2026
Step 1: Check Your NDIS Eligibility
The very first step in the application process is figuring out if you actually qualify. The NDIS is not for everyone; it is specifically for people with permanent disabilities.
To be eligible, you must meet four main criteria. Let’s look at them in a simple table:
| Eligibility Criteria | What It Means |
|---|---|
| Age | You must be under 65 years old when you apply. |
| Residency | You must be an Australian citizen, a permanent resident, or hold a Protected Special Category Visa. |
| Disability | You have a permanent disability that significantly impacts your ability to take part in everyday activities. |
| Early Intervention | You are a child (under 9) with a disability or developmental delay that needs early support to reduce future support needs. |
Real-Life Example:
Sarah is 34 years old and was diagnosed with multiple sclerosis. She finds it hard to walk long distances and can no longer cook safely. Because her condition is permanent and affects her daily life, she is likely eligible. Her grandfather, who is 70, would not be eligible because of the age limit, even if he has a disability.
If you are unsure, the best thing to do is to call the NDIS (1800 800 110) or visit the “Access Checklist” on the NDIS website. Do not start filling out complex forms until you are sure you meet these criteria.
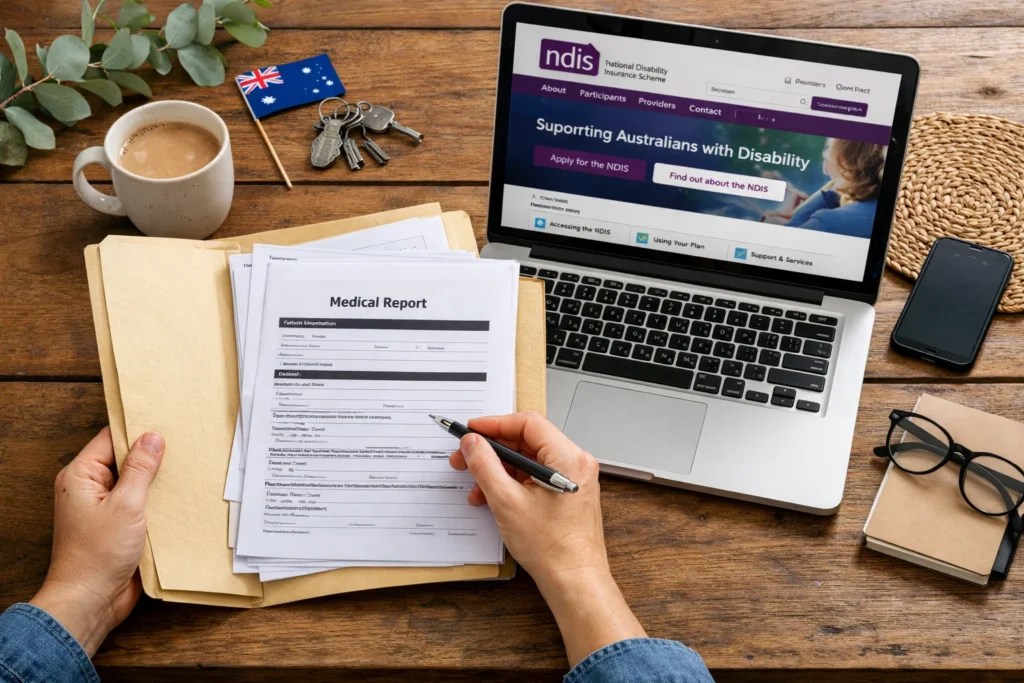
Step 2: Gather Your Evidence (The “Proof” Part)
Once you know you are likely eligible, you need to prove it. The NDIS needs evidence to make a decision. This is often the part that takes the longest, so it is good to start gathering documents early.
You need evidence that shows:
- You have a disability.
- The disability is permanent.
- The disability significantly impacts your daily life.
Who can provide this evidence?
You cannot just write a letter yourself. The evidence needs to come from a professional who treats or supports you. This could be:
- Your General Practitioner (GP)
- A specialist (like a neurologist, paediatrician, or psychiatrist)
- An occupational therapist (OT)
- A physiotherapist
- A psychologist
What does “evidence” look like?
It is usually a report that describes:
- Your diagnosis.
- How long you have had it.
- What you struggle with (e.g., “cannot prepare meals”, “requires supervision to leave the house”, “cannot communicate verbally”).
- What supports do you currently use?
Step 3: Make an Access Request
Now you have your evidence, it is time to officially apply. This is called making an “Access Request”.
You have three ways to do this:
- Call the NDIS: The simplest way for most beginners. Call 1800 800 110. You will speak to a real person who will ask you questions to fill out the application over the phone.
- Fill out a form: You can download the “Access Request Form” from the NDIS website, fill it out, and email it to nat@ndis.gov.au.
- Use a Local Area Coordinator (LAC): If you don’t want to call or fill out forms alone, you can visit a Local Area Coordinator in your area. These are community organisations funded by the NDIS to help people just like you. They can help you fill out the forms for free.
What happens during the access request?
You will need to provide:
- Your personal details (name, address, Medicare number).
- Proof of identity.
- The evidence reports you gathered in Step 2.
- A signature allowing the NDIS to contact your doctors.
Pro Tip: If you call, make sure you have your evidence ready on the table in front of you. The person on the phone will ask specific questions about your daily life. Be honest. If you need help 3 times a week to shower, say that. Don’t downplay your needs.
Step 4: Wait for the Decision
After you submit your access request, the waiting game begins.
The NDIS usually has up to 21 days to make a decision, but sometimes it can take longer depending on how complex your situation is.
During this time, the NDIS will look at your evidence and decide if you meet the disability or early intervention requirements.
What can happen?
- Approved: You get a letter saying, “You are a participant in the NDIS.” Congratulations! You move to Step 5.
- Not Approved: You get a letter explaining why. If you disagree, you have the right to ask for a review. Don’t give up if you believe you meet the criteria; sometimes they need more evidence.
Step 5: Plan Your Supports (The Planning Meeting)
This is the most important step in how to apply for NDIS. Being accepted is only the first part. Now you need to create your “NDIS Plan”.
Your NDIS plan is your budget and your goals. It outlines:
- Your Goals: What do you want to achieve? (e.g., “I want to learn to use public transport,” “I want to find a job,” “I want to build my social skills”).
- Your Funding: How much money is allocated for different types of support?
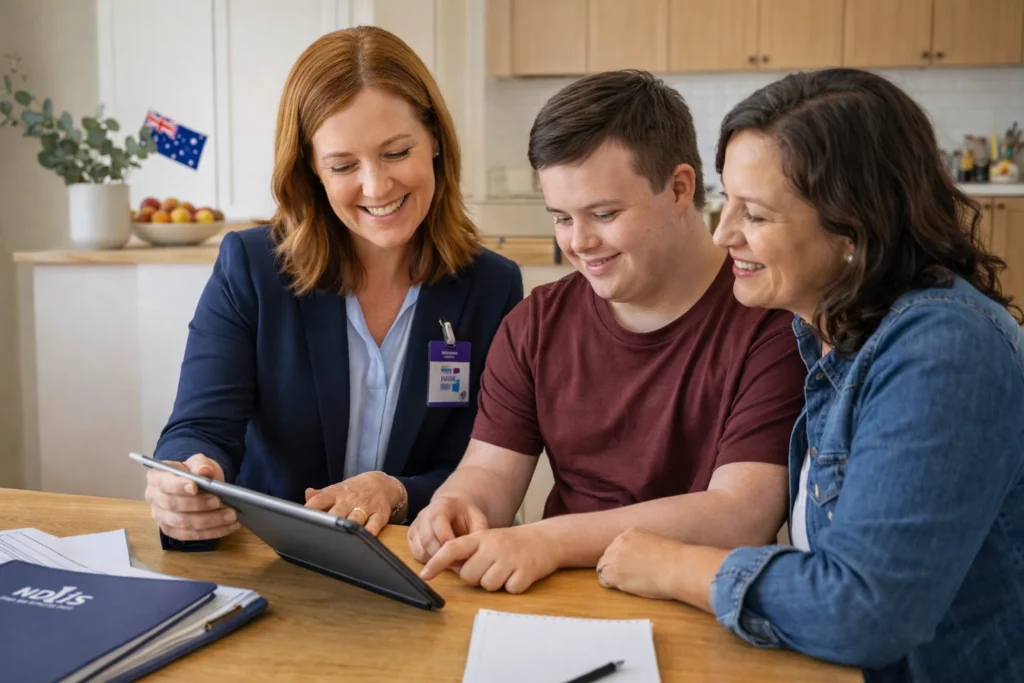
To create this, you will have a “planning meeting”. This can be a phone call, a video call, or a face-to-face meeting with an NDIS Planner or Local Area Coordinator (LAC).
How to prepare for this meeting:
This meeting can feel intimidating, but it is your chance to tell your story. To make it easier, write down answers to these questions before the call:
- What does your week look like? (e.g., “On Monday I need help waking up. Tuesday I go to the park, but I need someone with me”.
- What support do you already have? (e.g., “My mum helps me cook, but she is tired,” or “I see a physio once a month”).
- What equipment do you need? (e.g., “My wheelchair is old and heavy,” or “I need a special cushion to sit at my desk.”).
- What are your goals for the next year? (e.g., “I want to go to the gym” and “I want to learn to make friends”).
Real-Life Example:
John is 18 and has autism. In his planning meeting, he tells his LAC: “My goal is to go to TAFE next year. Right now, I get very anxious on the bus. I need a support worker to help me learn the bus route and practise talking to strangers.”
Because John was specific, the NDIS was able to include funding for “Travel Training” in his plan.
Step 6: Receive Your Plan and Start Using It
After your planning meeting, you will wait again for the NDIS to finalise the paperwork. You will receive a document called your “NDIS Plan”.
Your plan is usually valid for 12 months. It is divided into three main budgets. Understanding these is key to using your support.
| Budget Type | What It Covers | Example |
|---|---|---|
| Core Supports | Daily living activities. This is the most flexible budget. | Assistance with showering, cleaning, gardening, social outings, or a support worker. |
| Capacity Building | Supports to help you build skills and independence. | Occupational therapy, psychology, speech therapy, employment support, or life skills coaching. |
| Capital Supports | High-cost pieces of equipment or home modifications. | Wheelchairs, communication devices (like iPads for non-verbal individuals), vehicle modifications, or installing a ramp at home. |
Now what?
Once you have your plan, you need to choose how to manage your funding. There are three ways:
- NDIA Managed: The NDIS pays your providers for you. (Easiest for beginners).
- Plan Managed: You hire a “Plan Manager” to pay your bills and handle the paperwork for you. This gives you more choice.
- Self-Managed: You manage the budget yourself. You pay providers and claim the money back from the NDIS. (Best for experienced participants or families who like admin).
Then, you find providers. These are the businesses or individuals who will actually deliver your support—like your support worker, your occupational therapist, or your physiotherapist.
What is NDIS in Australia? A Simple Beginner’s Guide 2026
Common Questions Beginners Ask
Q: How long does the whole process take?
A: From the access request to receiving your plan, it usually takes 3 to 6 months. Sometimes longer if there is a backlog or if more evidence is needed.
Q: Is there a cost to apply?
A: No. Applying for the NDIS is free. However, you may have to pay for the reports from your doctors (GP or specialist) if they are not bulk-billed.
Q: I’m under 7 years old; do I apply the same way?
A: Yes, but the process is slightly different. For children under 7, it is called the “Early Childhood Early Intervention (ECEI) approach. “You usually go through an Early Childhood Partner in your area who specialises in supporting young children.
Q: Can I use a support worker right away?
A: No. You must wait until you have an approved NDIS plan with funding. You cannot claim support before your plan starts.
Tips for a Smooth Application
To wrap up this guide on how to apply for NDIS step by step, here are three tips to make the journey easier:
- Get a Support Coordinator: Once you get your plan, if you have funding for it, hire a support coordinator. Their job is to help you understand your plan, find providers, and set everything up. They are your guide in the NDIS world.
- Keep Copies of Everything: Save emails. Take photos of forms before you send them. If you have a phone meeting, write down the date, time, and the name of the person you spoke to.
- Don’t Rush: The NDIS can be complex, but it is designed to last a lifetime. If you get confused, call the NDIS, visit a local area coordinator, or ask a family member to help you. You do not have to do it alone.

Conclusion: Your Next Steps
Applying for the NDIS is a journey. It starts with a feeling of uncertainty and hopefully ends with a feeling of empowerment.
To summarise the how-to-apply-for-NDIS step-by-step process:
- Check eligibility: Are you under 65 with a permanent disability?
- Gather evidence: Get reports from your doctors.
- Make an Access Request: Call 1800 800 110 or visit an LAC.
- Wait for approval: usually about 21 days.
- Plan your supports: prepare your goals and needs for the planning meeting.
- Receive your plan: Understand your budgets and start looking for providers.
The NDIS is here to help you live a better life. It might feel like a lot of paperwork now, but each step brings you closer to getting the support you need to live the life you want.
Take it one step at a time. You’ve got this.
Learn More About NDIS
Understanding the NDIS is the first step to getting the most out of it. If you are still unsure about the eligibility requirements before you apply, we recommend reading our detailed guide on NDIS eligibility requirements to ensure you have all the correct evidence ready.
Ready to start your journey? Start understanding your options today by speaking with a local area coordinator in your community.